There is something truly magical about seeing a bear in its natural environment. Whether it is a massive grizzly fishing for salmon or a black bear cub playing in the meadow, these moments are what every wildlife photographer dreams of. However, getting that perfect shot is not just about having expensive gear; it is about patience, respect, and understanding the animal you are photographing. Bears are powerful, wild, and unpredictable, which makes capturing their life through the lens both a thrilling challenge and a serious responsibility.
For many nature lovers, bear photography is the ultimate goal. The reward of bringing home a stunning image that tells a story is unmatched. But to do it successfully, you need to prepare yourself for more than just the technical aspects of photography. You need to prepare your mind and body for the wilderness. From knowing the best time of day to finding the right location, every detail counts. In this guide, we will walk through some essential tips that will help you capture stunning images while keeping both you and the bears safe.
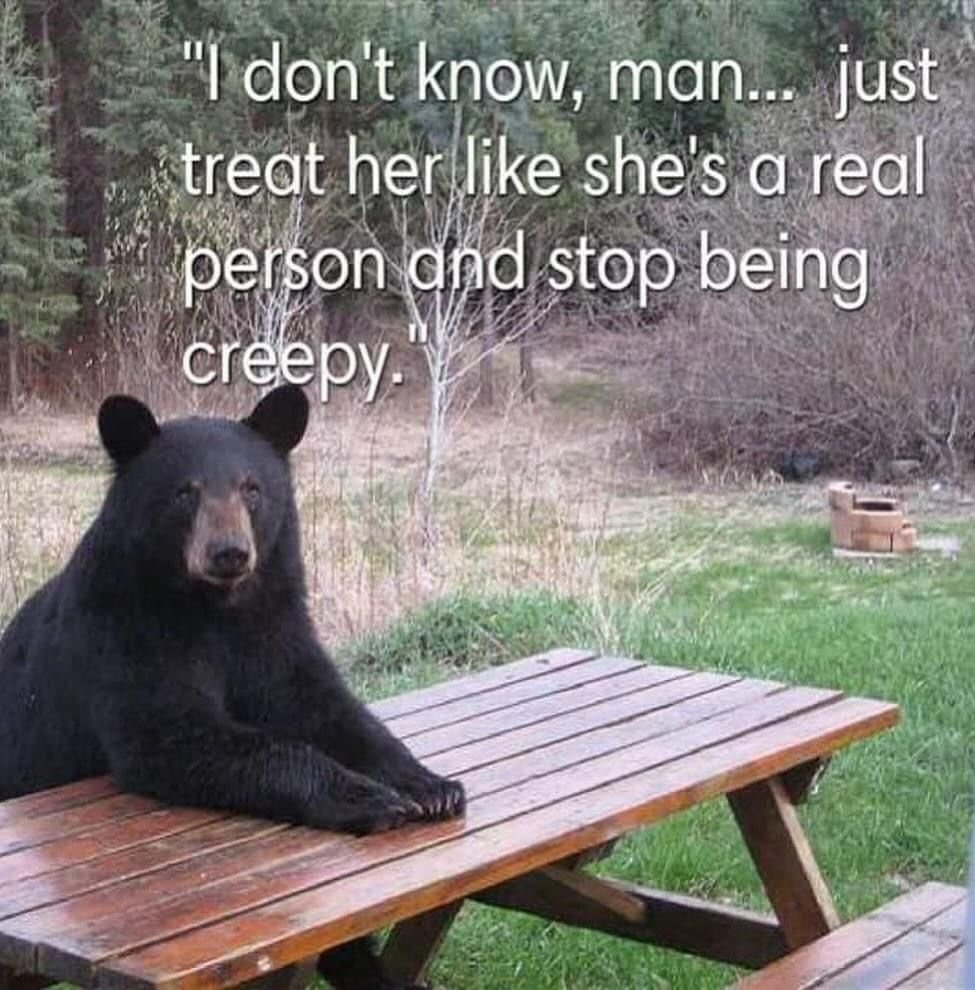
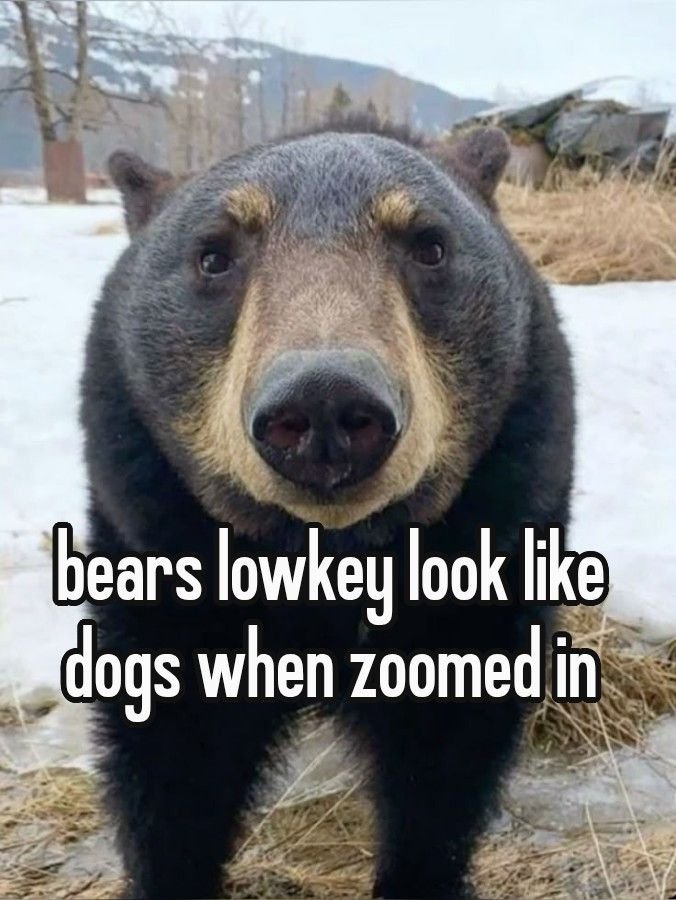
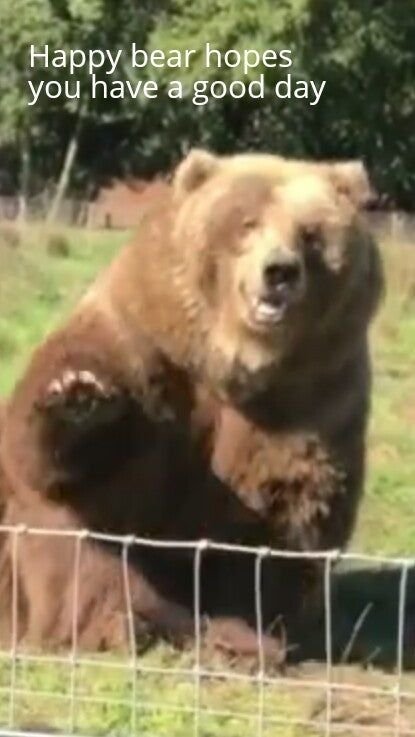
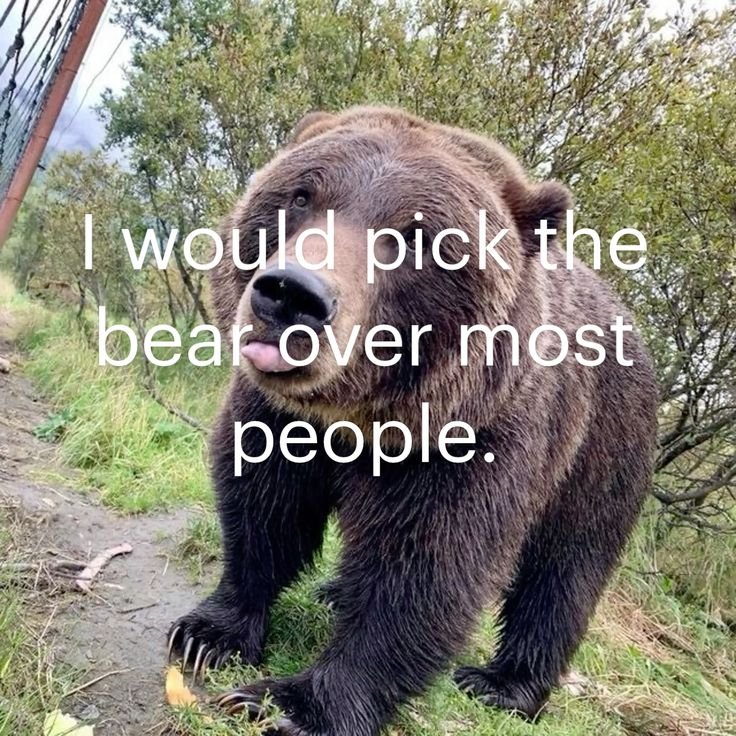
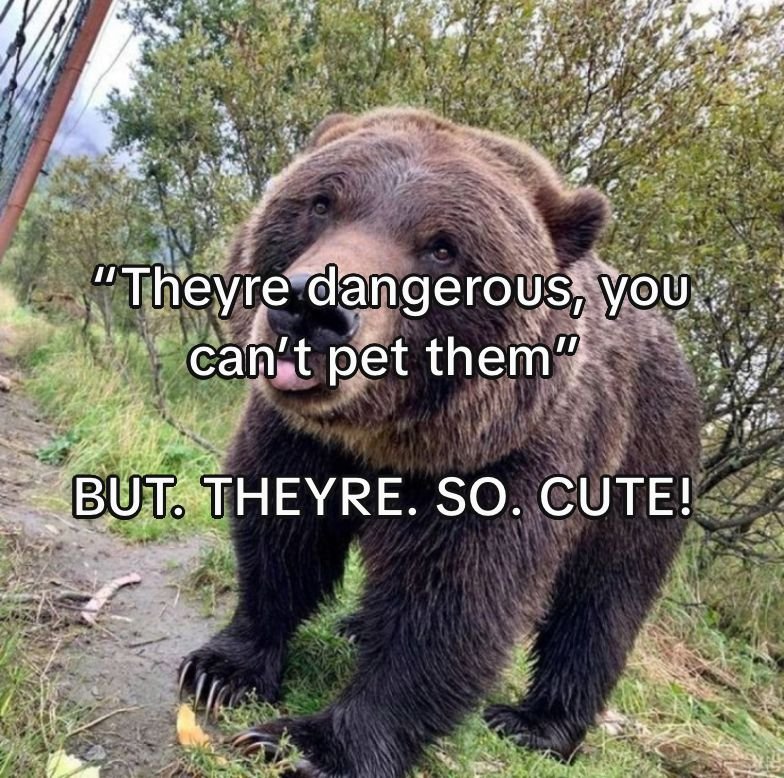
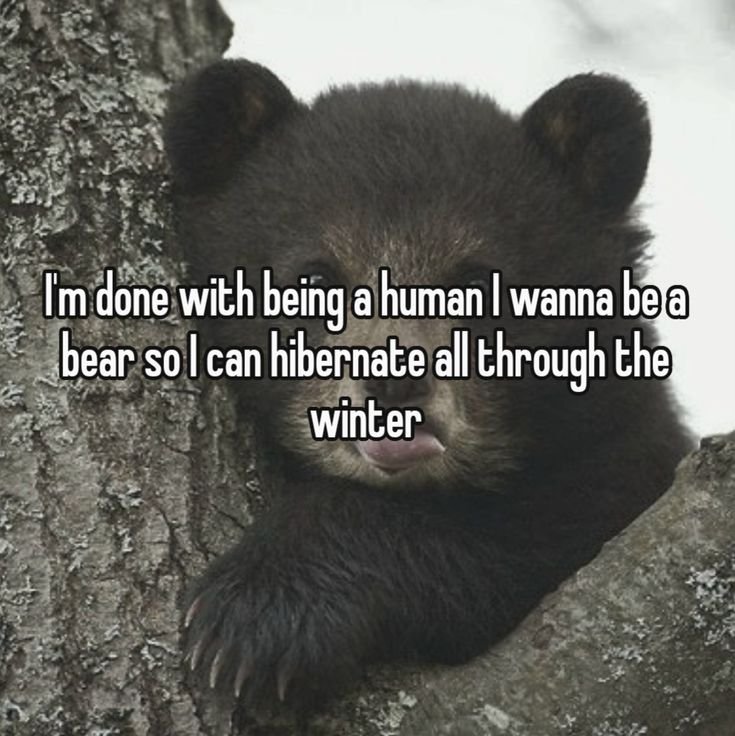
10+ Bear pictures
Image credit: Pintrest.com
#1

#2
#3
#4
#5

#6
#7
#8

#9
#10

Understanding Bear Behavior for Better Shots
Before you even pick up your camera, you must spend time learning about the animals you wish to photograph. Bears are not just big, furry creatures; they are complex animals with specific routines and moods. Knowing the difference between a relaxed bear and an agitated one can save your life and help you get natural, candid shots. When a bear is calmly grazing or scratching its back on a tree, you have a great opportunity to capture peaceful moments.
On the other hand, if you notice a bear is staring intently, huffing, or making false charges, it is time to back away. These are signs of stress. The best wildlife photographers are the ones who prioritize the animal’s well-being over the photo. By understanding their behavior, you can anticipate their next move. For example, if you see a bear near a river staring at the water, get your camera ready because it might be about to catch a fish. This knowledge allows you to be prepared for action shots without startling the subject.
Furthermore, learning about their daily patterns helps you plan your day. Bears are usually most active during the early morning and late evening hours. This is often called the “golden hour” for photographers anyway, as the light is soft and warm. By being in the right place at the right time, you increase your chances of seeing natural behaviors like playing, hunting, or nursing. Patience is key here. Sometimes you might wait hours for a bear to appear, but that waiting period is what separates a lucky snapshot from a professional wildlife photograph.
Essential Gear for Photographing Bears in the Wild
When it comes to gear, safety and reach are your two biggest concerns. The number one rule of bear photography is to maintain a safe distance. To do this while still filling the frame with the animal, you need a good telephoto lens. A lens in the range of 300mm to 600mm is highly recommended. This allows you to keep a respectful distance while capturing the fine details, like the texture of their fur or the droplets of water coming off their coat as they shake.
Your camera body is just as important as the lens. Bears move quickly, and action can happen in a split second. You need a camera that has a fast autofocus system and a decent frames-per-second rate. This ensures that when a bear suddenly breaks into a run, your camera can keep up with the motion. Don’t forget about image stabilization, either. When you are using a heavy, long lens, holding it steady can be tough, and stabilization helps keep your images sharp.
Aside from the camera equipment, you need to think about your personal gear. A sturdy tripod or monopod is essential for resting heavy lenses during long waits. Dress in layers that blend in with the environment; avoid bright colors. Bring binoculars to scan the area for wildlife before you walk into it. Lastly, always carry bear spray on your belt, not buried in your backpack. You must know how to use it and have it accessible at all times. Your gear is your tool, but in bear country, safety gear is your lifeline.
Safety First: Respecting the Wild Giants
This might be the most important section of this entire article. No photograph is worth getting hurt or hurting a bear. When you enter bear country, you are entering their home. It is your job to be a polite guest. Always maintain a safe distance—experts often recommend at least 100 yards for bears. If an animal notices you and changes its behavior, you are too close. Your presence should not disrupt their eating, sleeping, or parenting.
Making noise is a great way to avoid surprise encounters. Let the bears know you are there so they are not startled. When you are walking to your spot, talk to your partner or sing softly. However, once you are set up to photograph, it is best to be quiet and still so you don’t scare them away. Pay close attention to the wind direction. If the wind is blowing from you toward the bear, they will smell you long before they see you, which can make them nervous.
Traveling with a partner is always a smart move in bear country. Not only is it safer, but you also have an extra set of eyes to watch for approaching wildlife from behind. Keep your area clean and never leave food scraps behind. Bears have an incredible sense of smell, and a food-conditioned bear can become a dangerous bear. By following these safety rules, you protect yourself, your partner, and the future of the bears you love to photograph.
Composition Tips to Tell a Bear’s Story
Once you are safe and set up, it is time to think about the art of the image. A simple portrait of a bear is nice, but a great photo tells a story. Look for ways to show the bear interacting with its environment. Instead of just a headshot, zoom out a little to show the massive forest behind it. This helps viewers understand the scale of the wilderness these animals call home. This technique is called environmental portraiture and it adds depth to your portfolio.
Try to capture emotion and action. Look for moments of connection, like a mother gently nudging her cubs, or a bear shaking water from its fur after a swim. Get down to the eye level of the bear whenever possible. This creates a stronger connection between the subject and the person looking at the photo. If you are standing above a bear, the image loses its power. Getting low makes the viewer feel like they are right there in the meadow with the animal.
Pay attention to the background. A cluttered background with bright branches or trash can ruin a great shot. Move slowly and carefully to find an angle where the background is clean, such as dark forest shadows or a smooth river. Use a wide aperture to blur out distractions, keeping the focus entirely on the bear. Remember, the eyes are the window to the soul. Make sure the bear’s eyes are sharp and in focus. If the eyes are blurry, the photo loses its impact, no matter how good the rest of the shot is.
The Best Times and Places for Bear Photography
Location and timing are everything in wildlife photography. Some of the best places to photograph bears are national parks and protected wildlife refuges. Places like Katmai National Park in Alaska are world-famous for brown bears, especially during the salmon run. In the lower 48 states, places like Yellowstone and Grand Teton National Parks offer opportunities to see black bears and grizzlies. Always check local regulations and park rules before you go, as some areas require permits or have specific viewing guidelines.
Spring and fall are usually the best seasons. In the spring, bears emerge from hibernation and are hungry, often feeding in open meadows where the fresh grass grows. You might also see mothers with newborn cubs, which makes for adorable photos. In the fall, bears enter a phase called hyperphagia, where they eat almost constantly to fatten up for winter. This is when they are most active and visible, often fishing in rivers or foraging for berries.
Early morning, just after sunrise, is prime time. The light is beautiful, and the bears are moving. Late afternoon, before sunset, is another excellent window. During the middle of the day, bears often rest in shaded areas, making them hard to find and photograph. By planning your trips around these peak times and seasons, you maximize your chances of capturing amazing bear life through the lens. Remember to be patient and enjoy the experience of being in nature, regardless of what you capture.